
Introduction
For many years, creating an online store was a long, complicated process. You had to register a domain, set up hosting, install a pain-in-the-butt script, troubleshoot when it invariably went wrong, set up payment processors… it just went on and on. It could take weeks or even months to open the doors!
Then Shopify came along and made it easy for absolutely anyone to set up an online store in a few hours. Even if you only have a little time each day, you can have a site running and making money in as little as a weekend. It’s literally so easy to use that a pre-teen could have a site online in a day or two!
We’re going to take you step-by-step through the process of setting up a Shopify store, and it’ll only take a few hours to be up and running! Sure, beats weeks or months, doesn’t it?
Choosing a Market
The first step in the process is choosing a market. You may already have your market in mind, and that’s great. But you should do some market research in order to ensure the market is likely to be profitable. Additionally, you may want to
To get some ideas, you can check out:
http://www.InternetRetailer.com
They have a guide that will tell you information about what is selling, which markets are trending, etc.
Here are some ideas for criteria you should use to decide if a market is viable or not:
- Average order should be at least $50. This doesn’t have to mean individual products are $50 or more, but the full order should be over $50. (And larger is obviously better.)
- Profit margins should be at least 20%. This means electronics are generally out, because profit margins are notoriously low. Find products with good margins.
- Customers are likely to return often. Is your product something most people would only ever buy once? You want to find a niche where the average shopper will come back to buy more from you in the future, because it costs much less to sell to a recurring customer than it does to find new ones.
- Average order is more than one item. If your business focuses on a product that people will only buy one of at a time, you may want to choose another market OR consider adding additional supporting items. For example, if you’re selling dog beds, you might want to add a line of dog clothing and accessories to get additional sales from the same customers.
- Business is not seasonal. Seasonal businesses can be quite profitable, but if your aim is for steady income, you might want to shift your focus or at least consider adding non-seasonal items. For example, if you’re selling pool supplies, you could sell winterizing equipment to help supplement your income in the off season.
- Products can’t easily be found locally, or the average buyer might not want to buy them locally. For example, some people might be embarrassed to shop for adult novelties locally, so those are a good option for online stores.
- There is some competition in the market. Too much competition is a bad thing, but ZERO competition is worse. Trust me, unless you have invented something no one else can sell, there will be some competition in any profitable market. Competition means a niche is probably profitable.
- Low shipping weight (under 10 pounds). If you have to charge too much for shipping, you won’t get many buyers, and absorbing shopping costs (such as free shipping for orders over $50) can eat your profits alive. Low shipping weight products means lower shipping costs, which both you and your customers will appreciate.
- Product is easy to source. The product needs to be something you can easily obtain. If you have to hunt high and low or wait months for the product to arrive, it’s not a good market to be in.
- Target market is mainly female. Females have tremendous buying power, and a lot of women even do the shopping for their significant others. So targeting women is usually a winning proposition.
While you don’t necessarily have to fit every single one of these criteria, the more of them you can check off the list, the better the market is likely to be.
Starting Your Store
Once you’ve decided on your market, it’s time to set up your store. You’ll want to buy a domain name, because it will look much more professional to customers than seeing the standard Shopify URL.
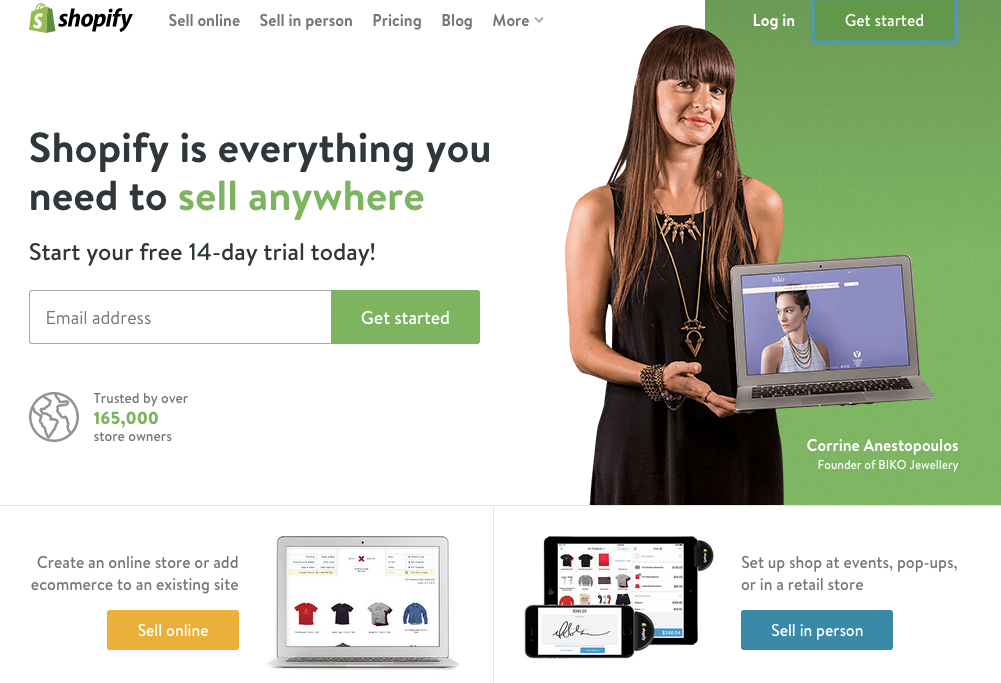
Click “Get started” at the top right of the screen. This will pop up a window that will ask for some basic information to start your 14-day free trial. You’ll be asked for an email address, password, and shop name. Keep in mind the shop name will appear in your shop’s Shopify URL.
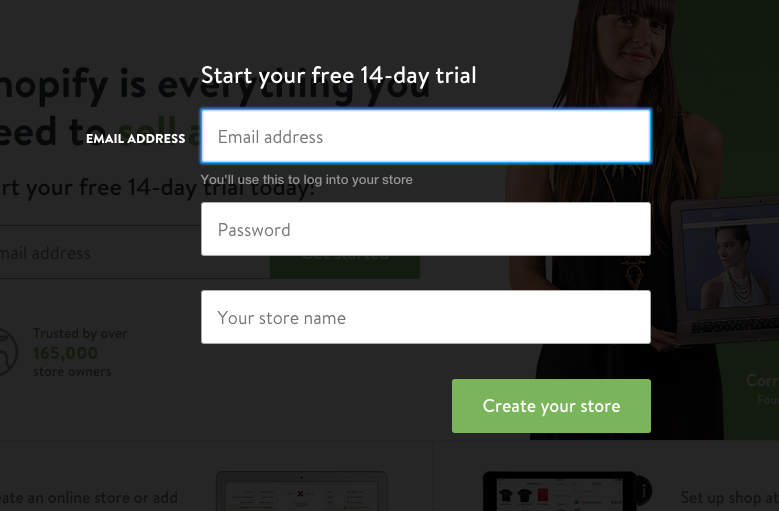
Your shop URL will be http://shopname.shopify.com, so choose something you won’t mind people seeing until the domain resolves. You can change this later, but it’s better to go ahead and choose the name you’ll want to stick with.
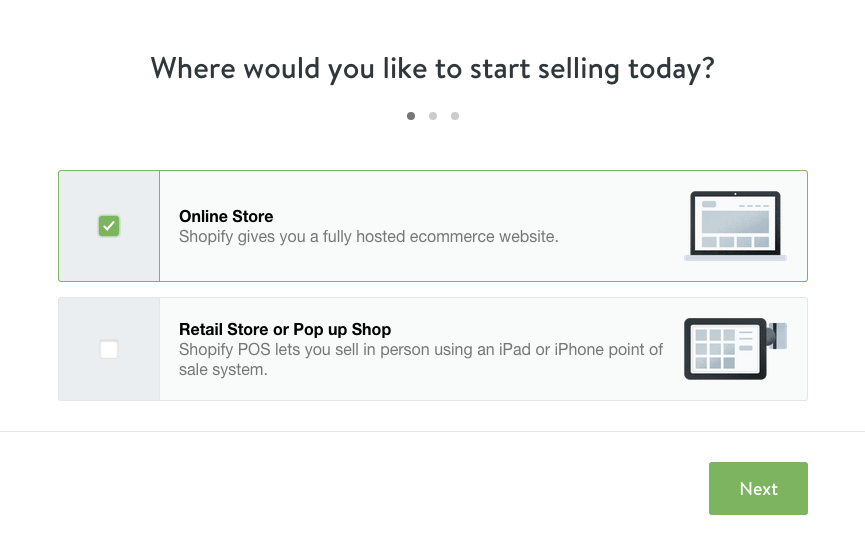
The next page will ask whether you want to set up an online shop or a retail store or pop-up shop. You’ll want to choose Online Store (which should be pre-selected for you) unless you intend to sell products in person, such as in a brick-and-mortar store or at flea markets or events.
On the next page, it will ask for your name, address, and telephone number. (Be sure you give your real phone number, because you’ll need to give customer service this number to identify your store if you need to call them for any reason in the future.)
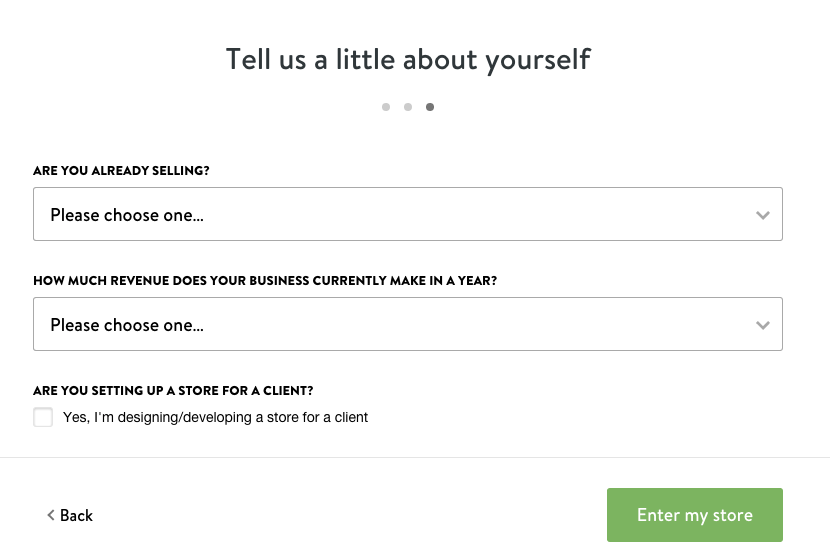
Once you’ve entered your personal information, the next page asks you a couple of basic questions about your business. They want to know if you’re already selling anything, and how much you’re currently making per year. (They’ll also ask if you are setting up the store for a client. If the store is for yourself, just leave that box unchecked.)
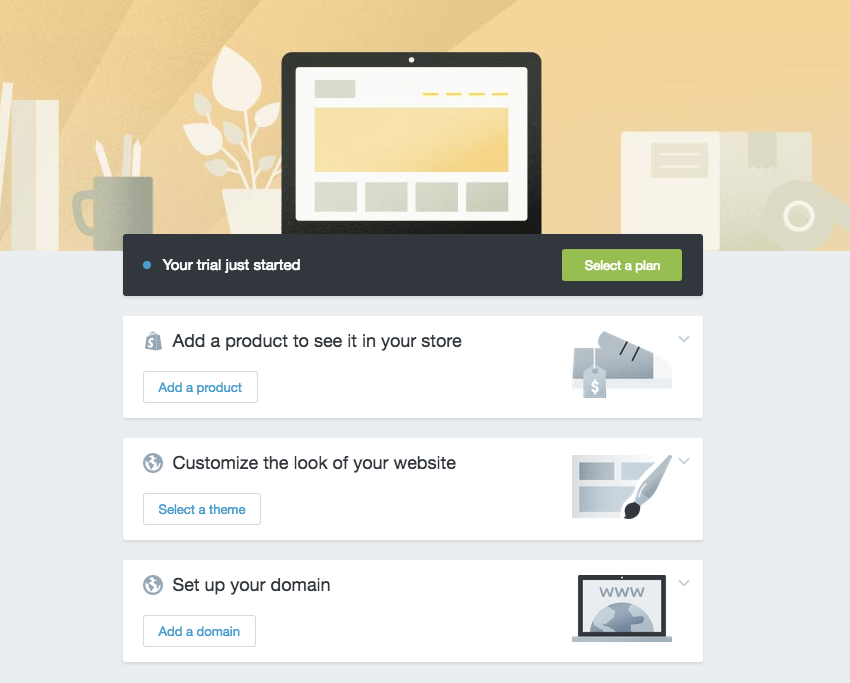
Once you’ve completed this step, you’ll be in your official Shopify admin area.
The first thing you’ll want to do is set up your domain name so it can begin propagating. This can take up to 48 hours, so the sooner you get the process started, the sooner it will be resolving.
To set up your domain, look at the bottom of your main Shopify admin center. Find the section called “Set up your domain” at the bottom and click “Add a domain.”
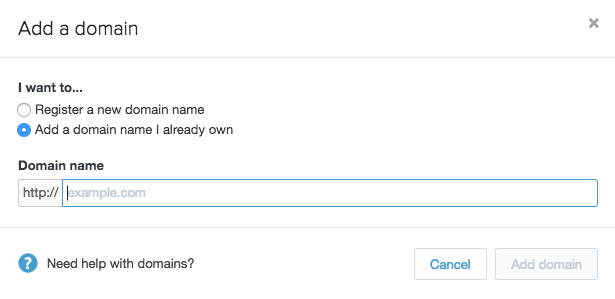
You will be presented with the option to register a new domain or enter one you already own. (It’s highly recommended you buy your domain through your regular registrar, such as NameCheap.com or GoDaddy.com, because you want to have total control over your domain name.
Enter your domain without the www in front of it. For example, enter domain.com NOT www.domain.com.
Once you’ve entered your domain name, click “Add domain”. This will add the domain to your account.
Once this is completed, you will see a button with instructions for setting up your domain with your registrar. It will tell you how to set up your A name record. If you need help doing this with your registrar, click the “Go to instructions” button to learn more.
After you follow the instructions to set up the domain with your registrar, it’s time to move on to the next step. It will take up to 48 hours to begin resolving but you can continue your store setup until then. Typically, it will only take a few hours to be ready.
Just ignore the domain admin area for now. It’s currently set to present your store at storename.shopify.com, but later you will want to change it to resolve to www.yourdomain.com. (Don’t forget to do this when your site is finished!)
Basic setup is now finished!
Google Analytics
Setting up Google Analytics is absolutely critical for your Shopify store. Not only will this tell you how much traffic your store is getting, but it will also tell you how many people are making it to certain parts of the checkout process. So, if you aren’t getting a lot of sales, you can use Analytics to find out where people are halting the process.
Are they making it to the checkout page, but not following through? Maybe shipping costs are too high. Are they entering their personal information, but stopping at the billing page? Maybe you aren’t taking the payment method they prefer. You can learn a lot with this data that can help you improve sales.
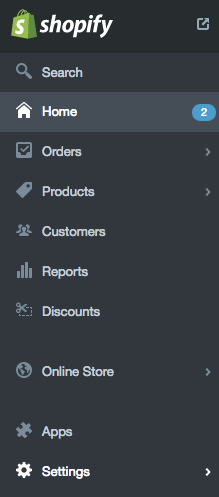
To get started, take a look at the menu on the left side of your Shopify admin area. You will see a long list of options, and at the very bottom, you’ll see “Settings”. Click that.
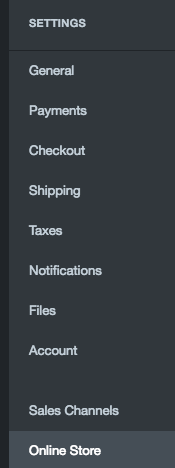
Under settings, you will notice a tab called “Online Store”. Click that tab.
Now you need to add your domain name to Google Analytics and paste your Analytics code into the box on the Online Store screen.

After you’ve added the Analytics code to your admin, it’s time to set up goals.
“Goals” will give you a tremendous amount of information, such as:
- How many people visited a product page
- How many people proceeded to the shopping cart page
- How many people gave their address
- How many people gave their billion information
- And other information
Shopify has a great tutorial for setting up goals:
https://docs.shopify.com/support/other/general-information/google-analytics-goals-and-funnels
General Settings
Now your store is created, and you have Analytics set up to help you determine how effective your sales funnel will be. It’s time to take care of some basic setup.
Meta Information
The meta information for your store is important because it will tell the search engines what your site is about. A lot of people don’t bother filling this out with their Shopify store, but it’s important that you don’t skip this. If this information is missing, Google will likely just snag some random text from your homepage and display that as your description in its search results, and that won’t work well for getting traffic.
Go to Settings, and then click General. This is where you can add your title and meta description. Don’t go overboard. Just enter the search engine title for your site and a brief description of what your shop is about.
You can also go to your individual products later and add meta information at the bottom under the “Search Engines” section on each product page in your admin.
Shipping
One option I should mention is that you can actually have a fulfillment company like Amazon or Shipwire handle all of your shipping. Let’s say you’re already selling on Amazon, and you have inventory with them, you can set them to fulfill your orders, and you won’t have to worry about shipping.
The location you put as your address when you signed up will be used to calculate shipping rates unless you’re using a fulfillment company. You don’t have to do anything extra, really. The system will calculate the shipping customers need to pay based on your location and theirs.
Tax Setup
Taxes are a part of business, even online. Many states have forced online retailers to start taking state sales tax. It’s a big pain the butt, but it’s necessary if you want to legally do business online in the U.S.
Shopify will already put a base tax rate into your account based on your location. For example, if you’re in New York, it will automatically add your tax rates to your account.
But if you have another physical location for your business, you will also have to put that state into your account.
If you have a location in another country, you will have to add that as well.
Checkout Settings
To get to checkout settings, go to Settings and then Checkout. Under Customer accounts, you can either require customers to make an account, make creating an account optional, or disable accounts completely.
Accounts are optional is the best choice for most people. That way people can create an account if they wish, so they can save their information if they intend to buy later, but if they’d rather not go through the extra step, they can check out as a guest.
The next settings are all option. You can have people automatically agree or not agree to receive emails from you. You can choose to authorize and charge the credit card immediately.
Leave automatic fulfillment unchecked unless you’re selling digital items. If you’re doing digital items, be sure to check this box.
Do not automatically archive the order unless it’s digital.
Payment Processing
Now you need to set up your payment processor so you can get paid. At the top of your Checkout page, you can choose between Shopify Payments, PayPal, and other payment processors.
Shopify Payments is actually a great service because the customer doesn’t have to leave your site to make a payment like they would with PayPal or other processors.
You will have to fill out some information for your business to accept Shopify Payments, but it will make it easy to accept payments and get paid quickly.
Product Management
Alright, the next thing you need to do is add products to your site. You’ll need to add various categories to the site, and then add products to each category. Fortunately, this is a simple process.
Adding a Product
To add a product to your shop, go to Products. Then click Add a product.
Add a title and description for your product. This should not only be reader-friendly in order to get visitors to buy, but ideally also search engine friendly.
Remember that the better the description of your product, the more likely people are to find your product and the more likely they are to buy.
You can use the rich text editor to add things like bold and italic text to your description to improve the appearance and readability.
Adding a Product Image
You should add at least one image to every product, and several images would be helpful if the product is something that has multiple features that a buyer might want to see displayed.
The first picture you upload is the default image for the product, but you can change the default image by dragging one from the images on the right to the left side of the screen.
Adding Product Details
Details include organization (such as categories, vendors, product type, collections, and tags), pricing, inventory, and shipping.
It’s important to make use of every possible one of these details in order to get the most sales. For example, don’t forget tagging, which can help product visibility immensely.
Variants
Variants are extremely important if you’re selling items that come in multiple colors, sizes, etc. In the Pricing, Inventory, and Shipping section, you can add variants and values. To do this, you need to set the option name and the option value.
For example, the option name might be Colors. The option values might be Maroon, Pumpkin, Sage, Emerald, Sapphire, and Eggplant. Or the option name might be Size, and the option values might be Small, Medium, Large, XL, 2XL, 3XL.
You can add multiple variants to a product, and multiple option values to each variant. This allows you to have virtually unlimited variations to your products.
Shop Appearance
Once you have all the technical stuff taken care of, you’ll want to find a theme that looks good for your site. They have a number of free themes available, or you can buy one if you don’t find a free one you’re happy with.
To add a theme to your shop, look for this on your dashboard:

Click “Select a theme”.
When you find a theme you think you like, click the thumbnail of it. You can immediately publish it on your store, or you can demo it to see what it looks like on a live site.
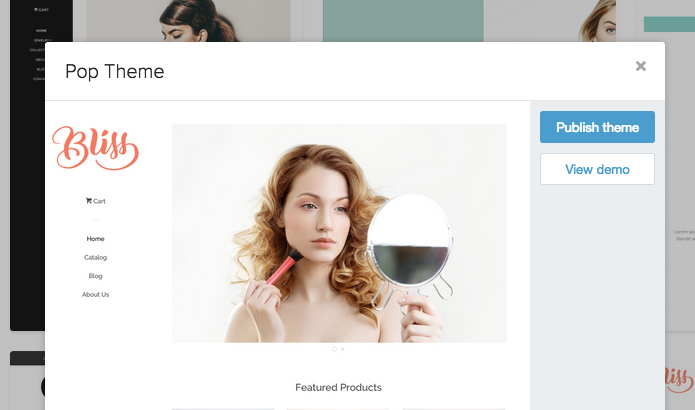
Simply click “Publish theme” to set the theme you’re viewing as the current active theme for your shop.
Some themes are free, and others are paid, so keep that in mind. You might want to start with a free theme until your shop becomes profitable.
Once you select your theme, it will immediately take you to the theme’s home page. You can customize your theme by clicking the “Customize them” button at the top right of the screen.
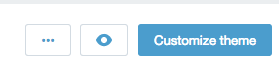
Options for customization will vary based on the theme, but they will generally let you choose a custom logo, custom colors, and other options to make the appearance of your theme your own.
Conclusion
Shopify is a great platform for starting your own online store. The setup required is minimal, there’s no complicated script to install, and it’s extremely affordable.
As you’ve seen in this guide, it takes only a few hours to have an entire store online and ready to earn money. It’s so easy almost anyone can do this in no time flat.
If you get stuck, you can always contact Shopify’s customer service. They are very helpful and tend to get back to you very quickly.
Don’t forget to check out some of the apps and themes that are available for Shopify. These will help extend the functionality of the site, making it easier than ever to make money with a Shopify store.
You’ll also find many tools outside of the Shopify app store that will help you better promote and profit from your new online store.
While the tools above can be used in conjunction with Shopify – they are also designed to very versatile and can be added to any webpage on any website, online!
Once your site is online, all you have to do is start promoting it. Try sites like Facebook and Pinterest for promoting your products with paid or free methods.
Good luck with your store!
